Showing posts with label diy tutorial. Show all posts

Saturday, July 20, 2013

DIY Arm Candy (Part II)


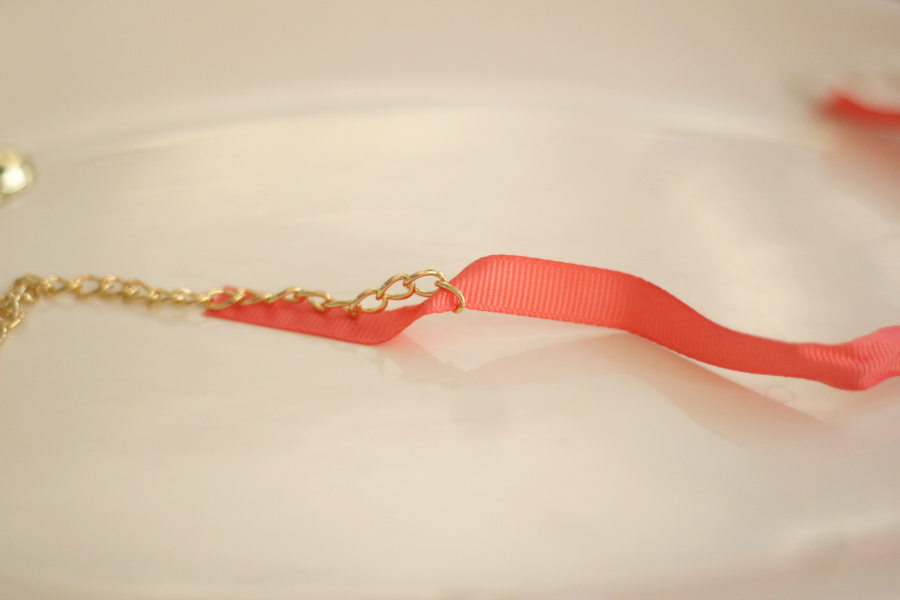
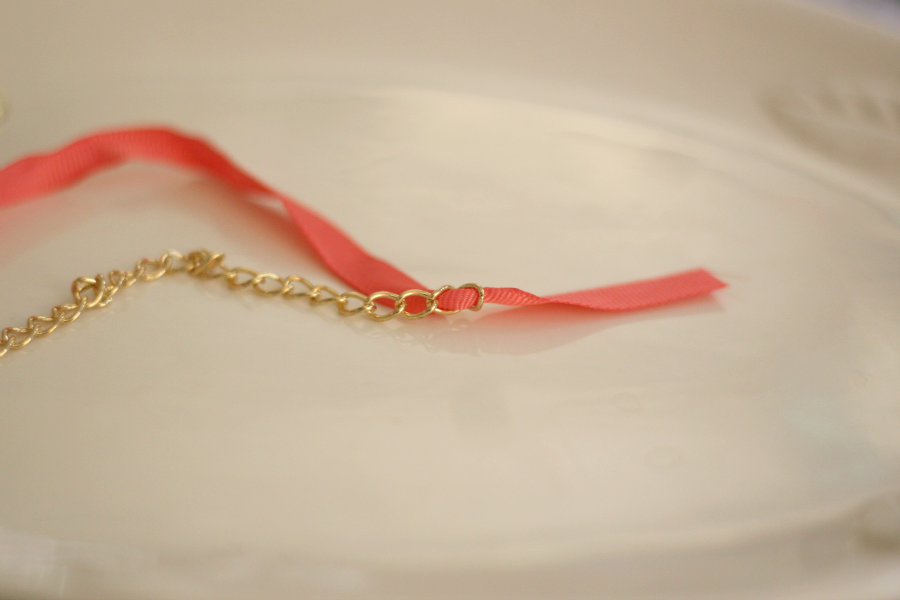
Last week, I shared a tutorial to make a pretty chain bracelet with ribbon to add to your arm candy. Today, I am sharing a tutorial for a simple yet versatile beaded bracelet.
I created these bracelets using these same steps.

What you'll need:
small gold colored cable chain
4 beads in colors of your choice
2 small-medium crimp beads
2 small jump rings
gold jewelry wire (size 49 strands or smaller)
lobster clasp
clasp connector
wire cutters
needle nose pliers

First, measure your chain around your wrist and cut it just a bit smaller than the diameter of your wrist. (You can always cut off more of the chain if it's too big once you're done).
Next, cut about 4" of your jewelry wire and thread one end through an end link of your cable chain followed by a crimp bead. Then, thread the same end of your wire back through your crimp bead so you have a loop.
Clamp down and close your crimp bead using your needle nose pliers to secure the wire to your chain. Be sure to get the crimp bead as close as you can to the end of the chain so your wire loop isn't too big.
 Now, thread through your beads and add a crimp bead at the very end.
If you'd like to create a bracelet similar to the mint one, then, thread a small crimp bead between each bead. Be sure to add a crimp bead at the end.
Once your beads are on your wire, thread the other end of the wire through the other end link of your chain. Then, thread your wire back through the crimp bead. Pull on the wire to tighten it and make the loop smaller. **Be very careful not to pull too hard and break your end link!
Once your loop is small, take your needle nose pliers and clamp down tightly on your crimp bead once again to close it. Cut off any excess wire using your wire cutters.
 Then, cut your chain in half using your wire cutters once again.
Place your bracelet over your wrist and measure it once more to make sure it will fit OK. Cut any excess chain off from each side. Then, get your lobster clasp, link connector and 2 jump rings ready to add to your bracelet. Keep in mind that these will add a little bit of length to your bracelet in case you need to trim your cable chain a bit more. 
Using your needle nose pliers, open one of your jump rings and place it through an end link of your chain and chain connector. Close it to secure it.
Do the same with the other end and your last jump ring. Close it to secure it.

Voila! You have a new bracelet to add to your arm candy this season! I am loving these color combos!
(Excuse the crazy veins above...My nursing school brain would want to stick 'em! lol)
Next week, I will post the last DIY tutorial for this set of bracelets so if you don't already, be sure to follow along on Bloglovin'!
Have a beautiful day friends!

Monday, July 8, 2013

Arm Candy DIY Tutorial (Part I)

I haven't done a DIY tutorial on the blog in a LONG time and I wanted to change that today! As I was going through my bracelets, I realized I don't have anything really colorful for the summer time. So, I decided to create some new pieces to share with you. I made these 4 quick and easy bracelets to wear together and/or separate.


There will be 3 very easy tutorials for these 4 bracelets that I will post. 2 of the bracelets are very similar, hence, only 3 DIYs.

Today, I will share the steps to little beauty right here.
What you will need: 
ribbon (I used ~10mm in width)
cable chain
lobster clasp
clasp connector
scissors
needle nose pliers
Fray Check or clear nail polish
needle and thread

First, determine the length of your cable chain. I have a pretty small wrist so I measured the bracelet at 6.2 inches. Then, cut your ribbon about 4 inches longer than your chain length.

When you cut the ribbon, cut it at an angle and add a little bit of your Fray Check or clear nail polish at the ends. This will keep your ribbon from fraying as you use it and make it easier to work with.

Next, you will take an end of your ribbon and thread it through each hole in the chain. Your pattern will be up and down until you have gone through each chain. Make sure to leave about 2 inches of ribbon at each end of the chain.


Once you're done, you will tie each end off in a knot around the last chain link.

Now, get your needle and thread and put in a few stitches at each end knot. This will help keep the ribbon from untying.

After the stitches are complete, use a dab more of the Fray Check over the cut thread. Also, cut any remaining ribbon off of each end and use the Fray Check once more over the ribbon.

 Now, use your needle nose pliers to open one of the end links.
Insert your connector link (my lobster claw clasp was also attached to my connector link). Once it's inserted, use the pliers once more to close the link back up.
Do the same with the other end of your chain and connect the lobster claw clasp to complete your new bracelet!

Check back soon to see the rest of the DIYs for these pretty arm candy pieces!


Follow my blog with Bloglovin
Smart School House